AR has the power to enhance the customer experience across a wide range of industries. However, a common challenge in implementing AR is the requirement to download a dedicated app in order to fully access and interact with the AR content.
AR Quick Look solves this problem for iOS. This native feature of ARKit allows users to view AR models directly from their browser, and that's why we call it native Web AR. It uses .reality or .USDZ files and allows showing objects in incredible detail, adding animations and sounds, locking their scale to 1:1 so models show the real size of an object.
Retail and e-commerce businesses can particularly benefit from implementing AR Quick Look on their websites. For example, a customer shopping for furniture can use AR to virtually place a bed in their bedroom, allowing them to see its size and compatibility with other pieces of furniture. This can help reduce the number of returns, as customers can confirm that the item will fit in their space before making a purchase. According to Dan Davis, the CTO at Build.com, they saw "a 22% decrease in return of bought products" as customers had a chance to check if an item fitted the available space. With the current emphasis on online shopping, this type of immersive, virtual try-before-you-buy experience can be especially valuable for customers and businesses alike.
Another potential use case is demonstrating differences between packages or options. For example, a customer considering a car purchase could use AR to compare various models and packages without having to visit a dealership in person. While the immersive experience may not be as fully interactive as using a dedicated AR app, it can still provide a useful overview and help customers narrow down their options. Additionally, viewing the AR content through a browser can be a useful way to introduce customers to the capabilities of AR and motivate them to install a dedicated app for a more in-depth experience.
Overall, using AR Quick Look in a browser has several benefits for businesses looking to showcase their products in an interactive and engaging way. In addition to the convenience of not requiring a separate app installation, it also supports both vertical and horizontal planes, allowing for a range of placement options. ARKit handles the creation of lighting, shadows, and environment mapping, saving time and effort in development.
Given the limited documentation provided by Apple on in-browser AR Quick Look, we felt it was important to compile a comprehensive guide on native Web AR for iOS. We've gathered all the information we've learned on the subject and are excited to share it with others looking to take advantage of this powerful feature.
Let's start with launching a ready-made 3D model in AR.
How to Ensure Everything Works Properly
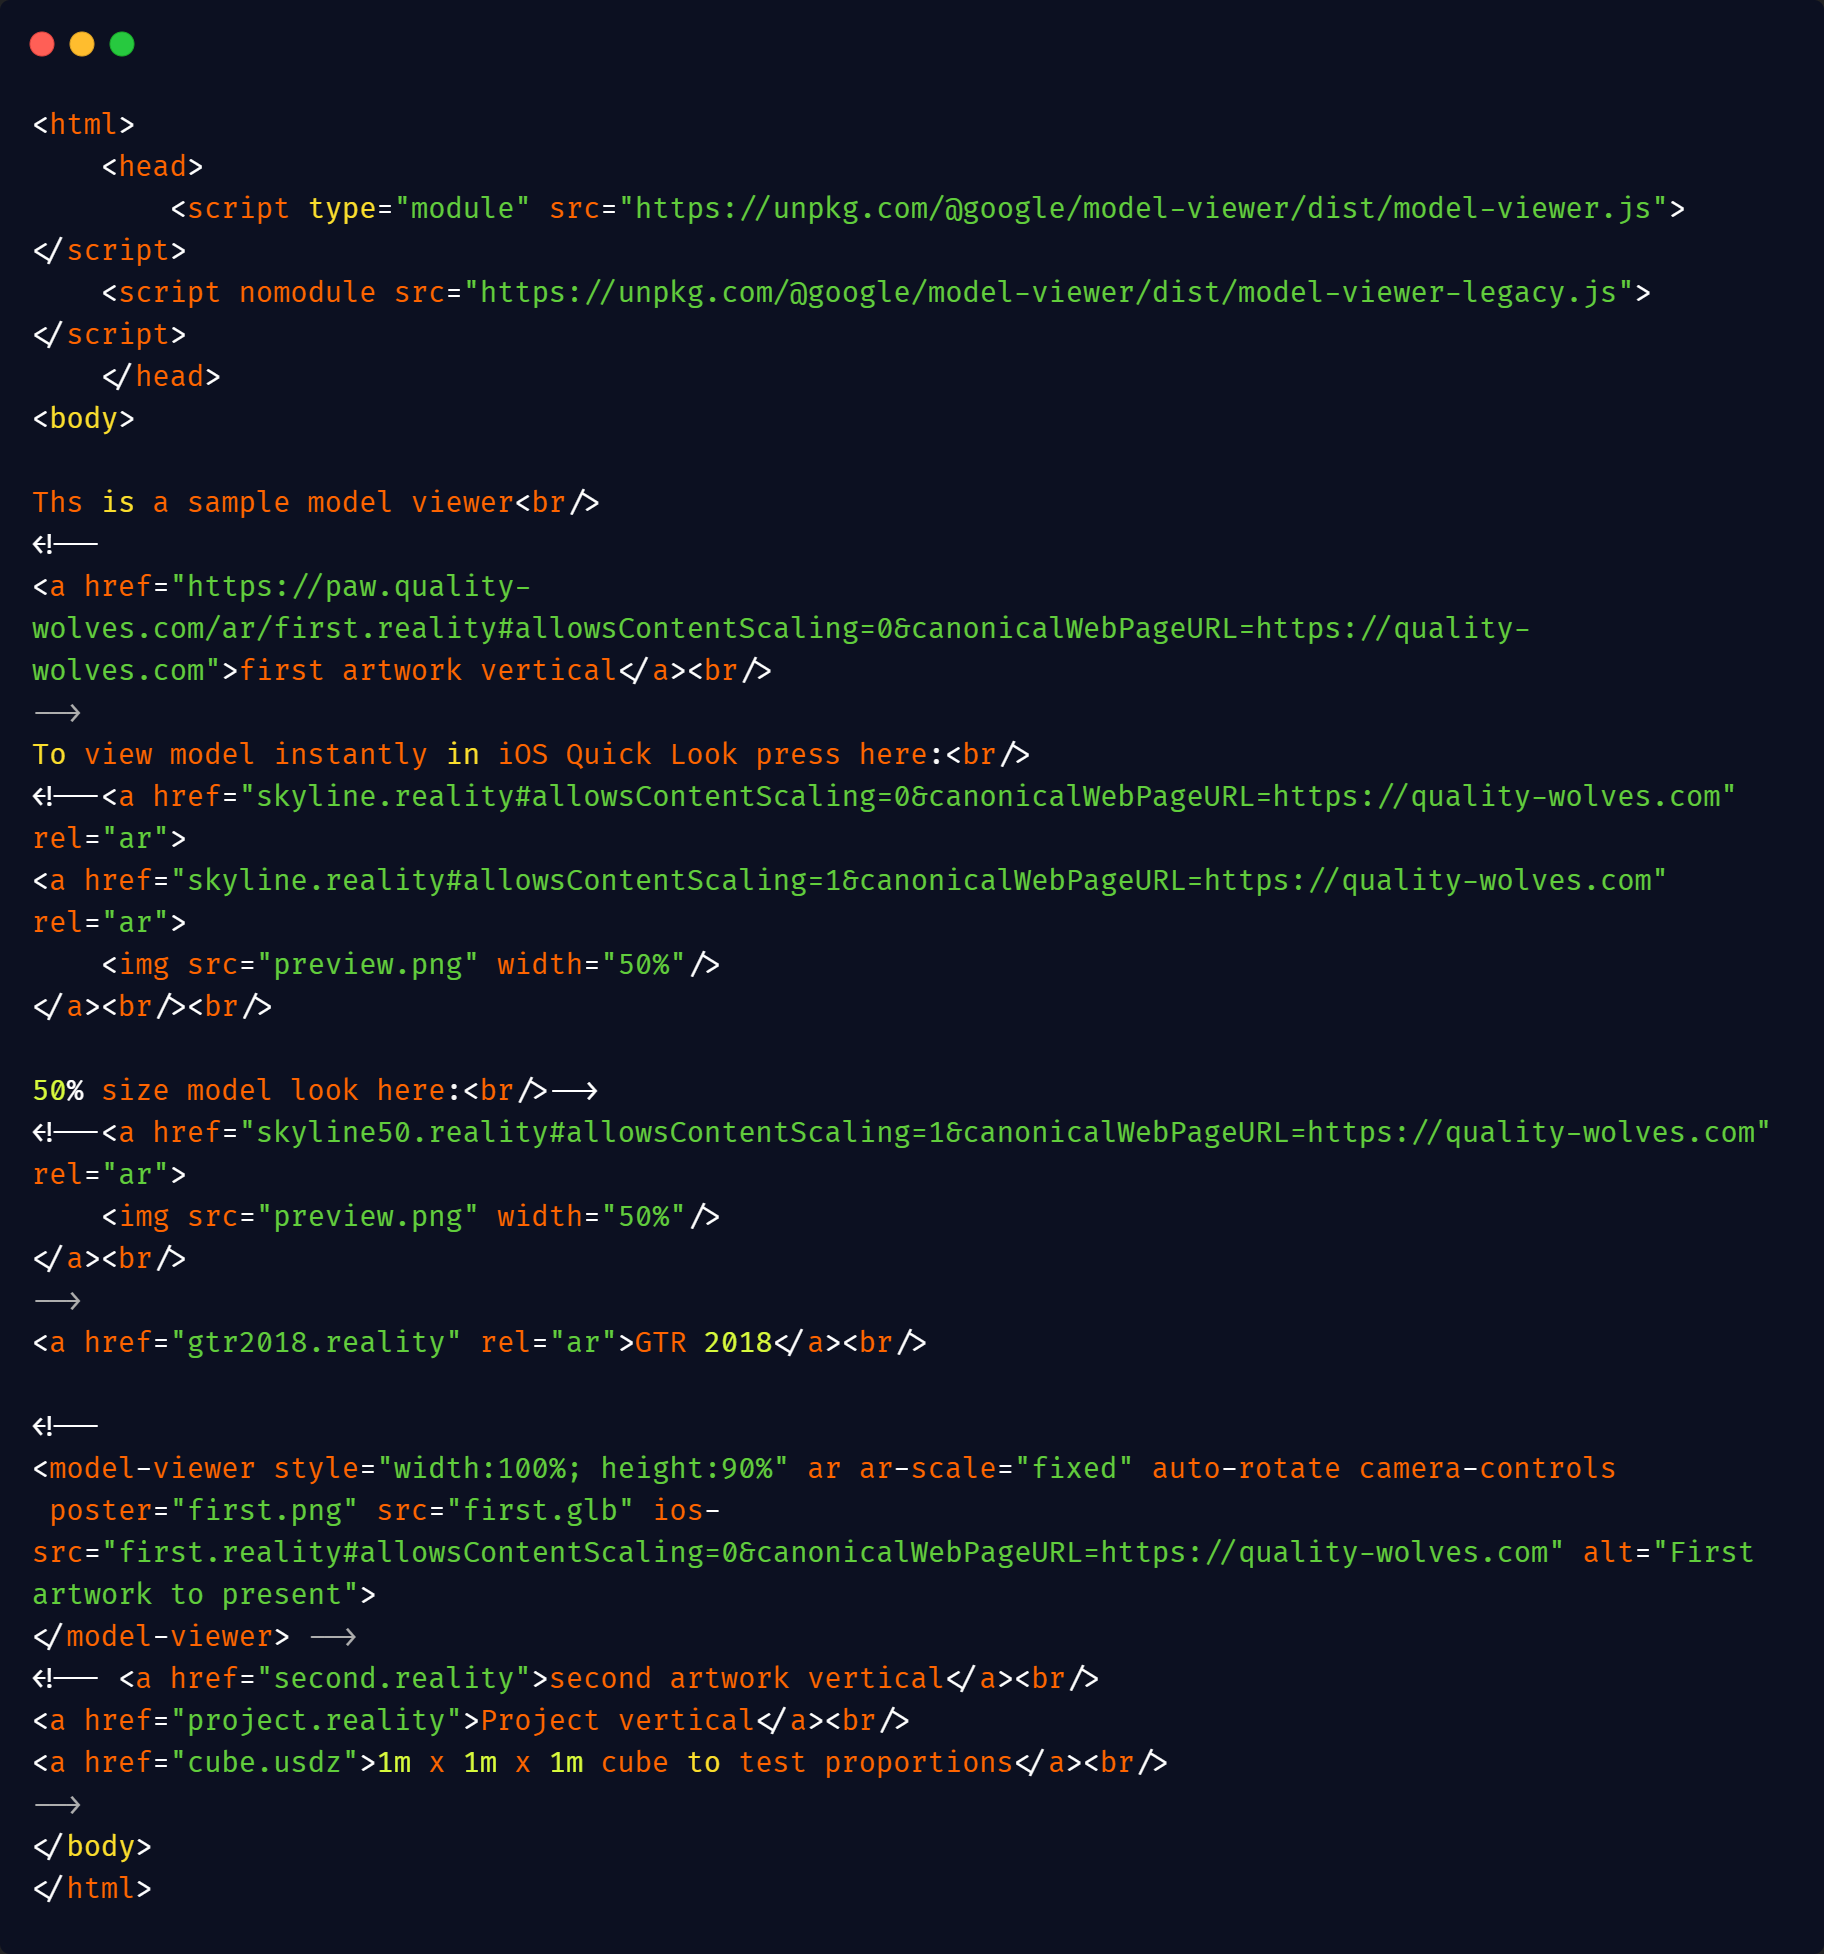
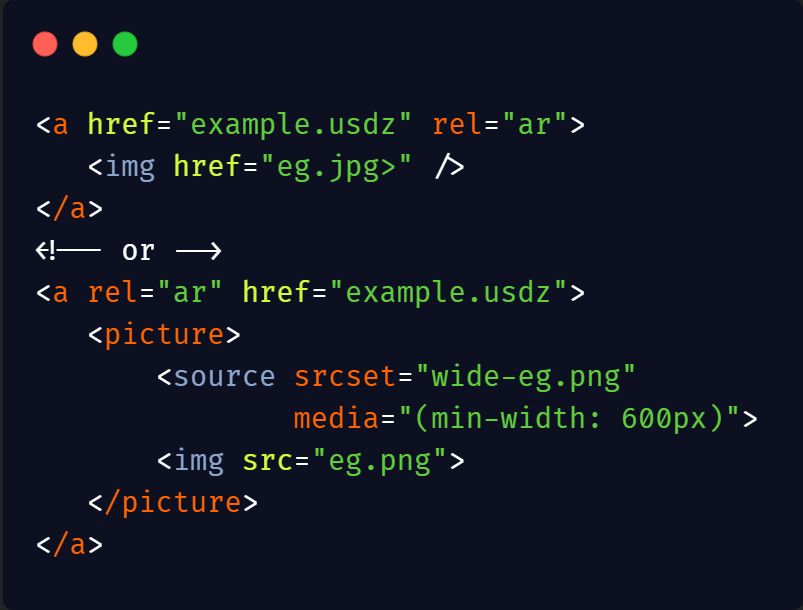
In order to properly launch AR Quick Look on iOS and display a 3D object in AR, the image tag is required and must be the first child of the rel=ar link element. Otherwise, browsers fail to launch AR Quick Look right away and just send you to a file preview instead, adding one more step before you can see a model in AR.
Here's an example of the correct HTML code:
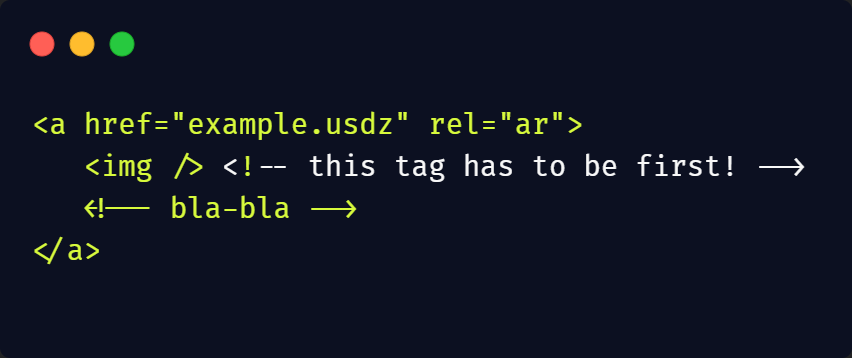
You can also remove a preview image if you don't embed src into img. In this case, the structure will begin like this:
To ensure that your implementation of AR Quick Look is correct, check for the presence of the 3D cube icon in the corner of the file preview in Safari.
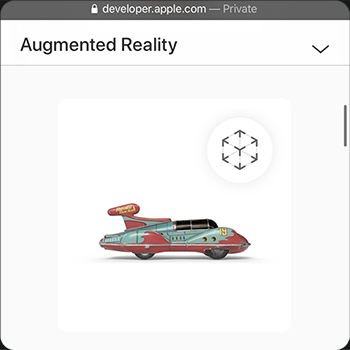
For more examples, have a look at the Quick Look Gallery.
It's worth noting that the 3D cube icon may not be visible in other browsers, but the 3D model can still be launched in AR from an iOS device. On Android devices, clicking on the preview will simply download the model without launching it in AR.
How to Disable Scaling
AR Quick Look allows users to adjust a scale of 3D model, displaying the ratio in percent. However, it's generally best to keep the scale at 100% or 1:1. It helps to avoid confusion and ensure that customers see the real proportions of an item they considering.
Here's how to force scaling to always stay at 100%:

After that, if someone attempts to enlarge a model, it'll just bounce back. This feature works only in Safari though.
How to Set Canonical Links for Sharing
By default, a "Share" button will only share a link to a model itself, prompting download of a .reality or .USDZ file to your device. To set a link that opens AR view for your users right away, you need to add #canonicalWebPageURL=http://example.com to the end of the link. If you want to use both scaling restriction and canonical URL, the end of the link should look like this: #allowsContentScaling=0&canonicalWebPageURL=https://example.com
Just as disabling the scaling feature, you can only set canonical links for Safari.
Interactive Models in Native Web AR
There're several ways to add animation to a 3D model for use in AR Quick Look:
- Add animation to a .USDZ file using a platform that supports the file format and set it to autoplay. However, this method does not allow for interactive experiences, as the animation will simply loop without reacting to user input.
- Modify a .USDZ file using Reality Composer and export it as a .reality file. This allows for more flexibility in adding and managing animations, but requires the use of Reality Composer.
- Create a .reality file from scratch using Reality Composer. This allows for complete control over the creation of the AR experience, including the addition of animations and other interactive elements.
The last two methods mention using Apple's Reality Composer. It's a powerful tool specifically designed for working with 3D models in AR. It allows you to add animations, audio, and other interactive elements, and provides options for managing the order and triggers of these elements.
Reality Composer is available as a part of Xcode for Mac and as a stand-alone app for iOS. Thanks to that, you can easily test your AR scene on the mobile device right after working on it in Xcode.
The mobile version has fewer features than the Xcode one. While it also can be used to create an AR experience from scratch, I'd recommend starting in the Xcode version and use the mobile version to check the results and make small edits like changing the positions of objects.
When using Reality Composer, it is recommended to create a new project file and choose an anchor type. The chosen anchor will determine how the AR content is anchored to the real-world environment.
| Anchor | Use case | |--------|----------| | Horizontal | Tabletops, floors, and other horizontal surfaces | | Vertical | Walls, doors, and other vertical surfaces | | Image | Photos, books, and other objects that can be used as reference pictures | | Face | Faces — identified and augmented with the TrueDepth front-facing camera; go-to for filters and masks | | Object | Scanned objects; their 3D models have to be added to a scene |
Once you have picked an anchor type in Reality Composer, you can begin building your AR scene. You can modify the default object, add objects from the Content Library (which includes a variety of high-quality 3D models), or import your own .reality or .USDZ files.
Behaviors in AR Quick Look
Reality Composer provides the ability to link movements and sounds to your 3D models using Behaviors. To do this, you can set a trigger and create an action sequence, choosing from a variety of Behavior types.
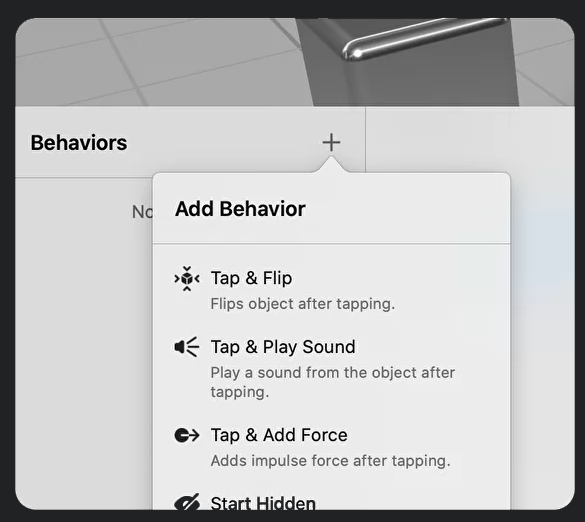
You can customize the Behaviors you have created by adjusting their duration, motion type, and other properties. You can also specify the number of objects that are affected by the Behavior, as well as the style of the animation.
In addition, you can add multiple actions to a Behavior and set them to play sequentially or simultaneously. This provides a great deal of flexibility in creating dynamic and interactive AR experiences.
It's worth noting that you can also combine auto looping animations from a .USDZ file with animations created using Reality Composer, allowing you to create even more complex and engaging AR scenes.
Online Shopping and AR Quick Look
One of the benefits of using native Web AR is the ability to add an Apple Pay button to your AR experience. This allows users to make a purchase directly from the AR view, creating a seamless and convenient buying experience. Alternatively, you can set an action such as "Add to cart" or redirect the user to a messenger, or display a custom banner.
These options allow you to create a personalised and engaging purchasing experience that can increase conversion rates. While this feature is not yet widely adopted, AR Quick Look allows retailers to offer benefits of e-commerce and retail in one point of sale.
Code Example